I mentioned in a previous blog that I'm not really a huge fan of most art. My wife and I have been married for over three years now and I think I can count the number of art events that I've attended with her on one hand (I know.. I'm a bad husband). But, I'm a changed man. No, I still don't care too much for the majority of the art, but mention a show and I'm in. Why's that? The booths.
I think my wife and I make a pretty good combo. I don't think that she could do, or would do, the business side of art by herself and I certainly can't make the artwork, but together, we're on our way towards making this a real business (granted, a very slow-growing one). So, whenever we do attend any kind of art event, or even just a street fair or swap meet, I've got my eyes open for new booth ideas. How to display product, how to interact with customers, what might sell and why, and try to apply those ideas to our own set-up. It was also through looking at other booths, both in person and online, that we found out what all we would need in order to create a professional looking booth of our own.
"One must have money to make money" - I always thought this old adage was more true than is convenient, but in this whole process, I've found that there is a loophole nowadays that goes something like this... "One must have CREDIT to make money".. I'm not sure of the financial wisdom of our business creation process, after all, we've basically taken a 9.9% APR loan for most everything that we've purchased. A smarter person with a more structured business plan might have simply applied for a small business loan but we used credit. Either way, here's what you can expect to spend to get started with a set-up similar to ours.
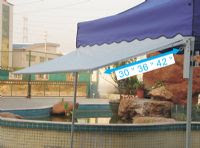
Canopy - the first and most important (and expensive) part of the set-up. Though you can buy a standard 10x10 pop-up shelter for quite cheap, the quality will be quite cheap as well. For the random event and light use, it may be fine, but we opted to go all out and get the professional version for durability (and to remind ourselves that this is a business, not a hobby). Our frame is the EZ-UP Eclipse II model which is $675 from EZ-UP Direct. Since we bought our frame from a friend without the top, we went through California Palms for the top and sides. Their prices are great, the fabric they use is thicker than most others and they offer their "four-seasons" top ($140) which has air vents in the fabric. This helps a bit with the heat but primarily allows the wind a place to escape without picking up and tossing our canopy.
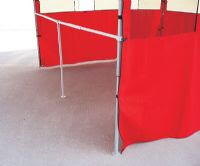
Sidewalls are not a necessity per se, but I believe that it really completes the booth and gives it that professional look. They also block the sun, wind and rain, keeping your booth somewhat protected from the elements though they can increase the temperature inside the booth a bit. We leave one of the back corners open a bit to facilitate air flow. Our sidewalls ($280) were purchased from California Palms along with our top. Though their sidewall prices seemed a bit higher than the competitions, I am quite satisfied with them. They are flame-retardant. Each panel zips to the neighboring panel, but there is also an additinal strip of fabric that velcros the two together, providing extra strength.
Most fairs, shows and events require that you have a canopy and many require that it be white, so be cautious of buying one in a different color. Many municipalities also require that it be fire retardant. A typical booth space at an event is 10ft x 10ft so I recommend sticking to that standard size.
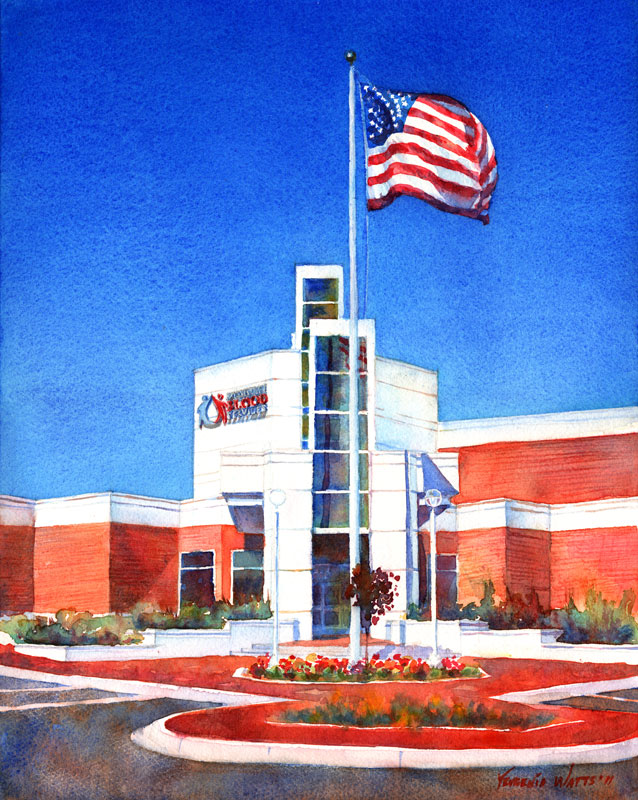
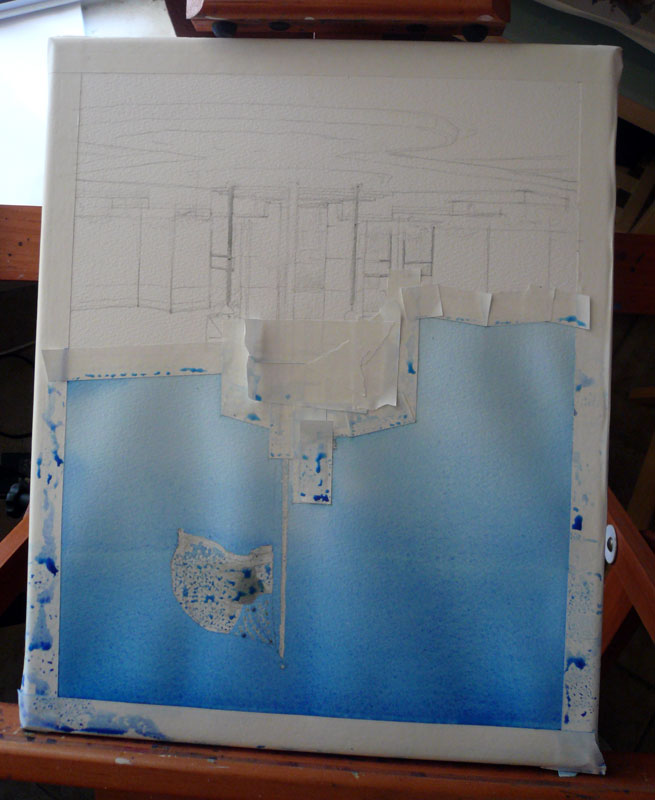
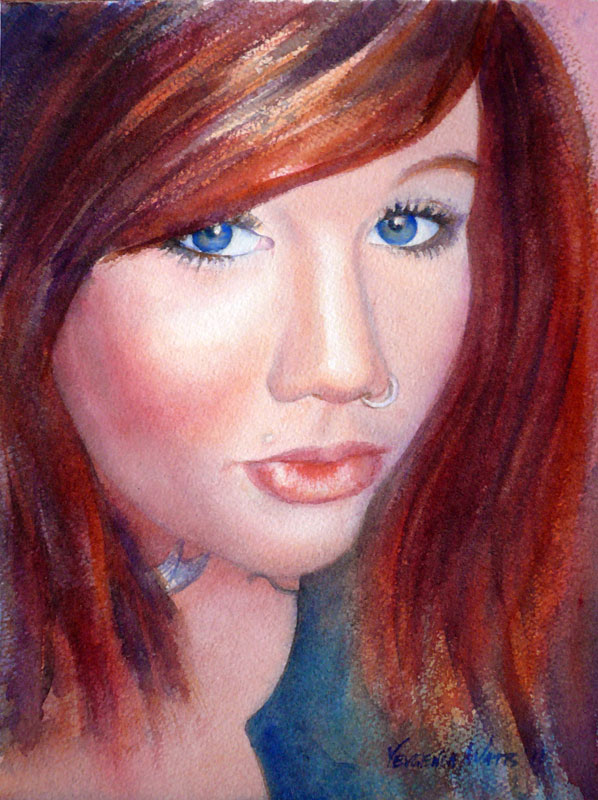
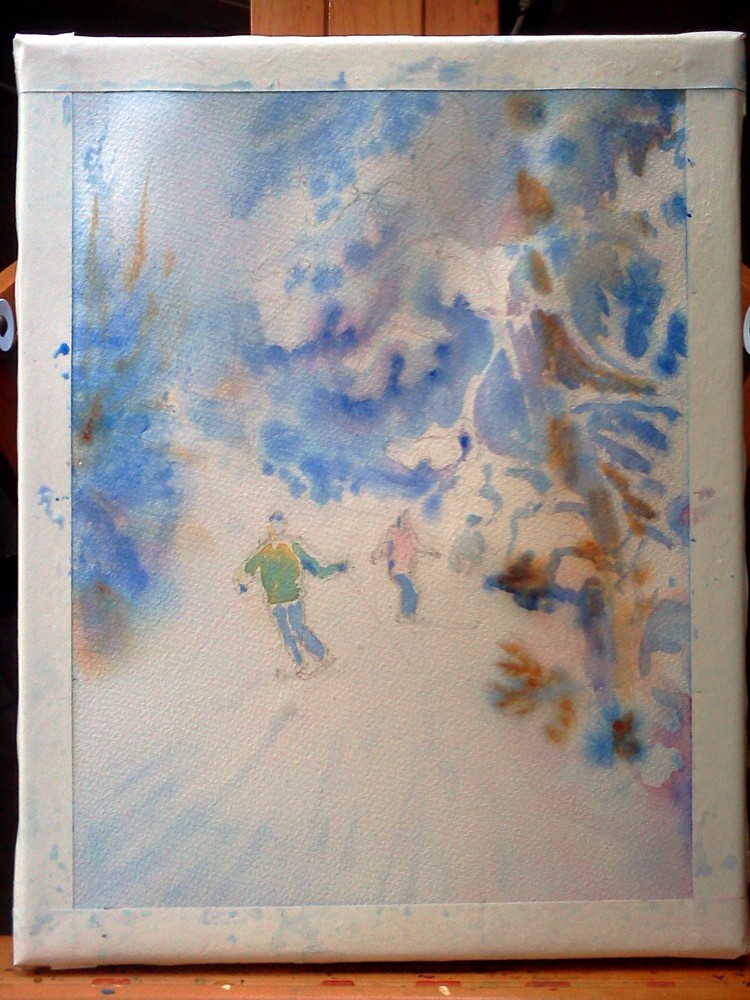
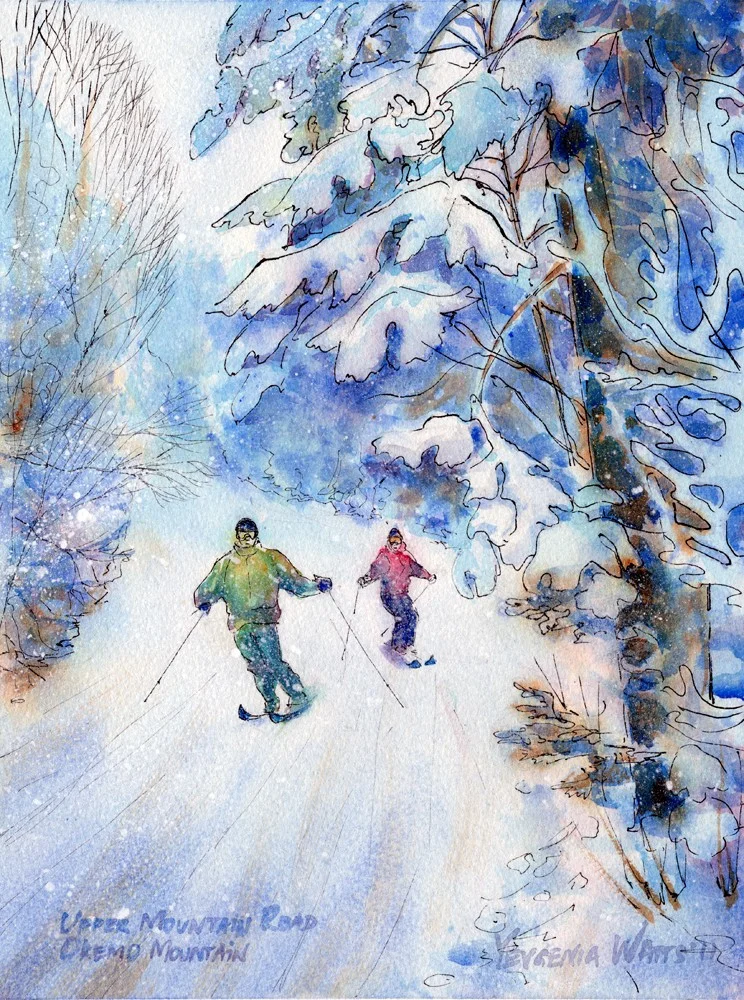
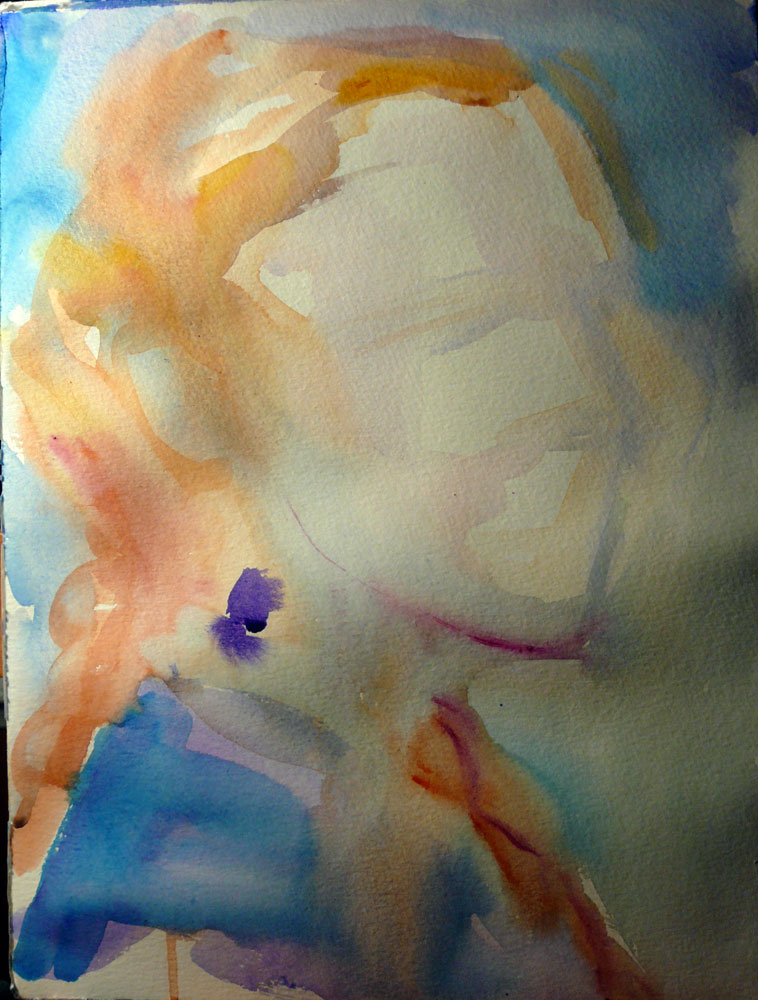
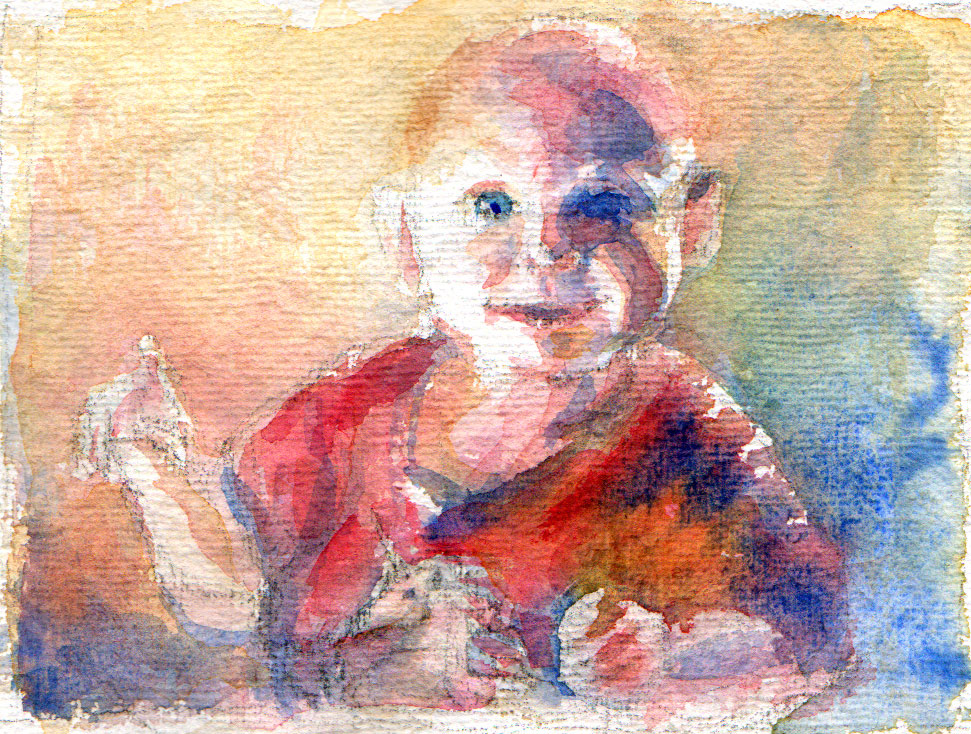
 Watercolor on Kilimanjaro cold press 140lb paper. Size: 9.5 x 12.5" Click on the image to buy.
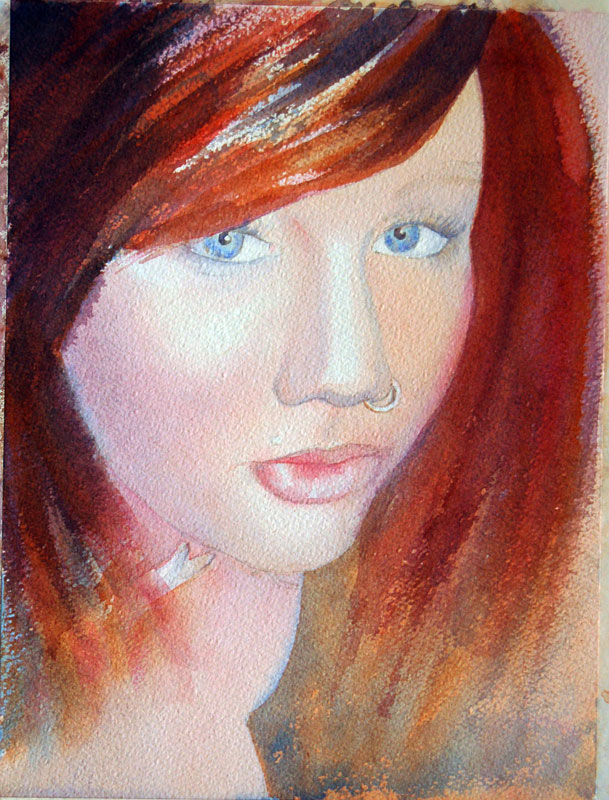
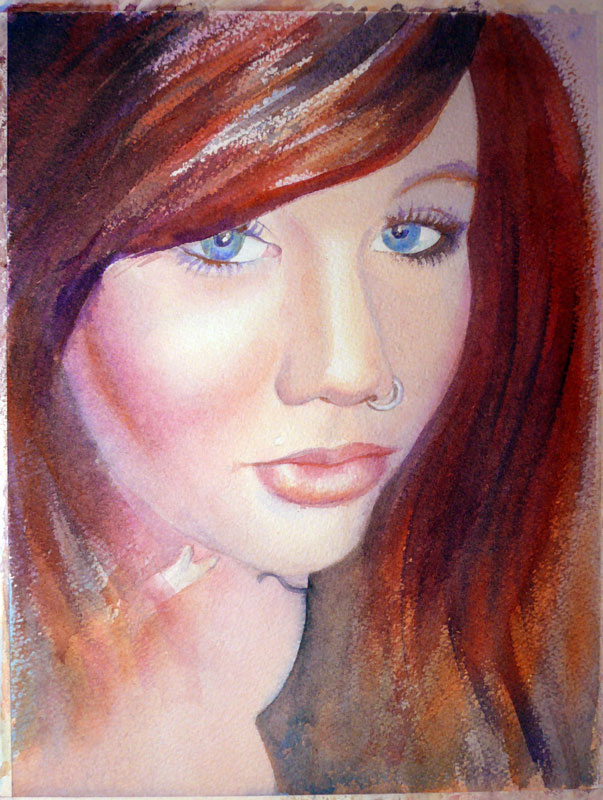
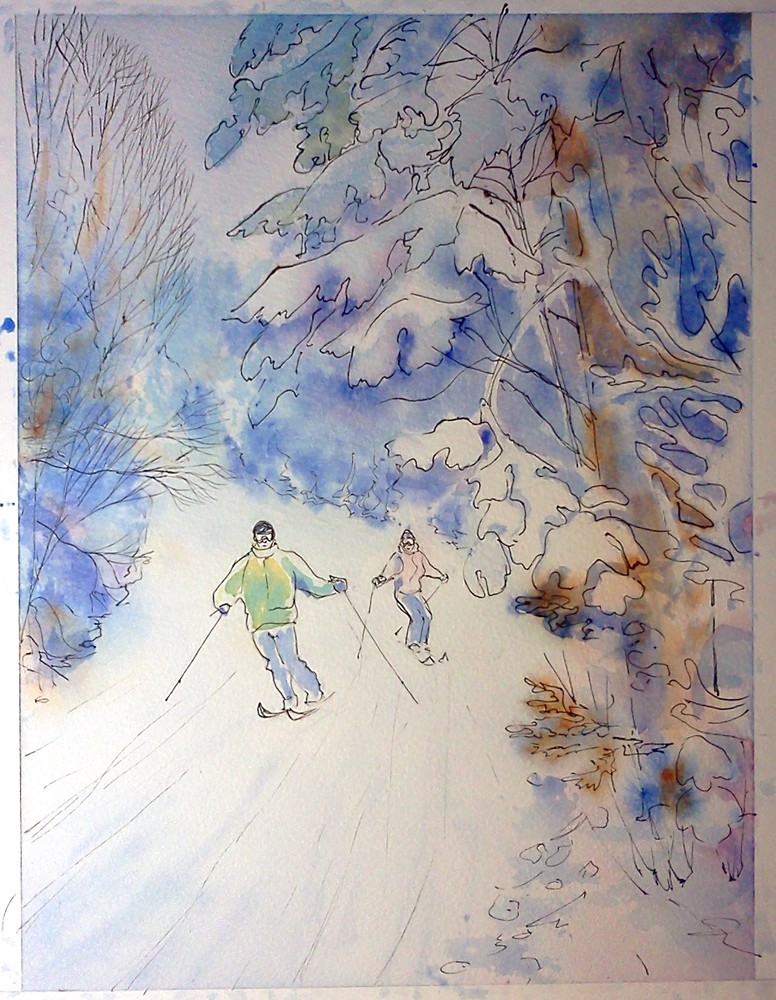
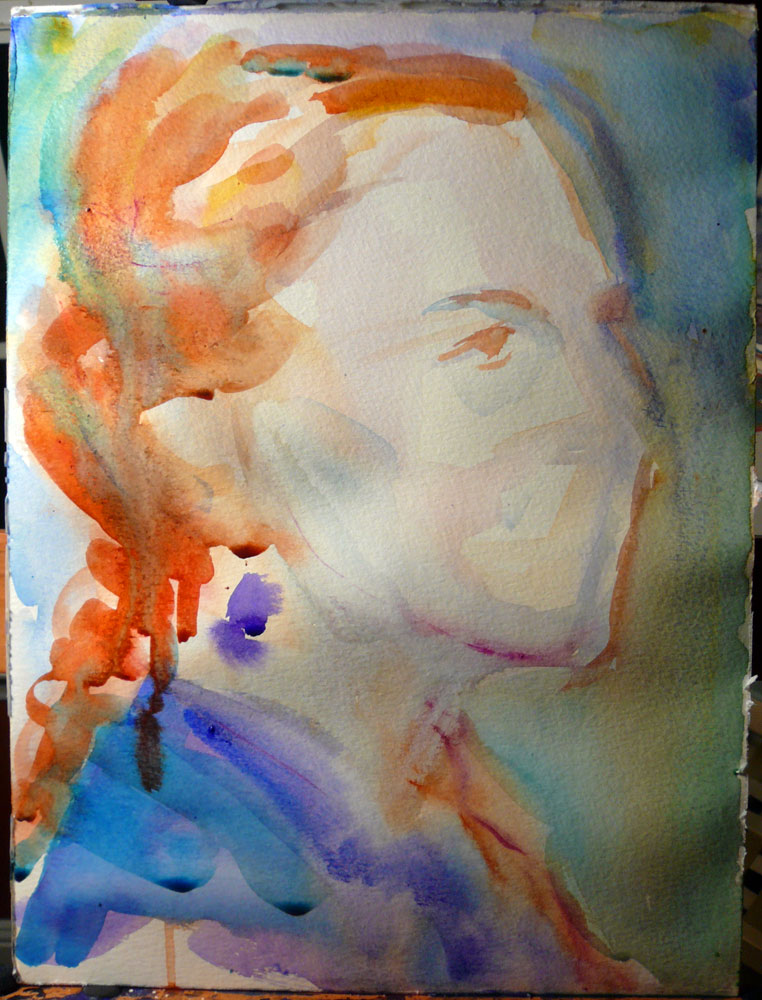